Sale
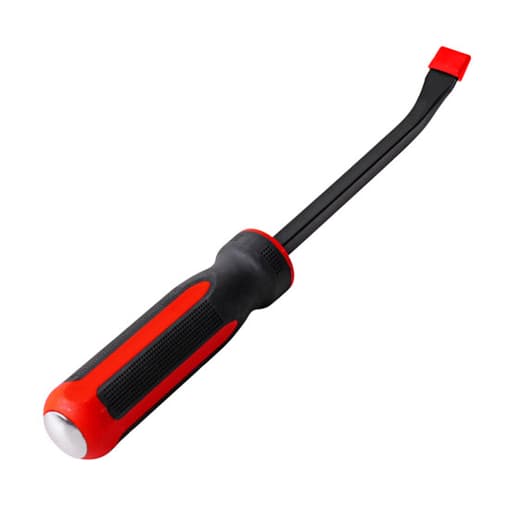
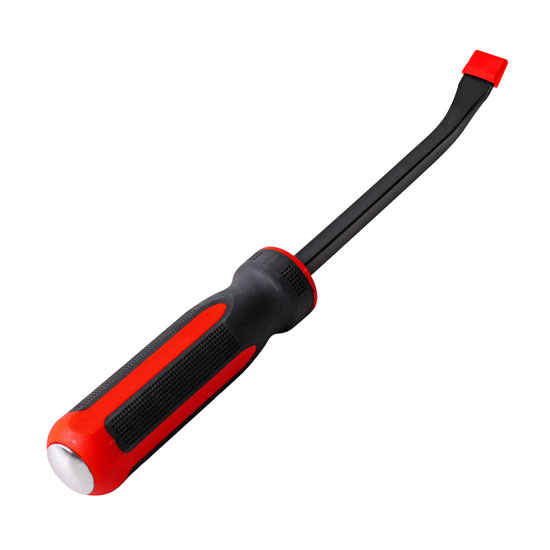
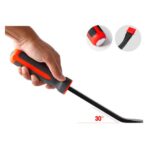
12 Inch Automotive Pry Bar
Original price was: $7.89.$3.99Current price is: $3.99.
14
People watching this product now!
Description
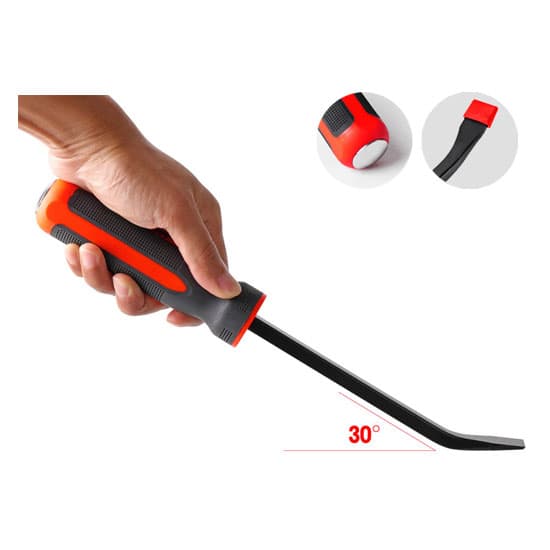
Automotive pry bar with 12 inch length, 30-degree angled tip, bar width 8mm.
Specification:
| Model | T-9190-12 |
| Weight | 277.5g |
| Total length | 12″ (310mm) |
| Head shape | Angled tip |
| Head angle | 30° |
| Head width | 16mm |
| Bar material | Chrome-vanadium steel |
| Bar width | 8mm |
| Handle material | Plastic |
| Handle length | 140mm |
| Handle width | 38mm |
| Handle color | Red & Black |
Automotive pry bar dimension:
Tips: How to use pry bars to change tires of electric bicycle for novice?
- Put down the side stand, use key to turn on the power, check whether the tire can rotate. If it can, turn off the power and remove key.
- Tire deflation. Novice must remove the air valve core.
- Press the tire to separate it from the rim until it reaches the middle groove of rim.
Why is it pressed into the middle of the rim? Because the tire diameter is smaller than the outer diameter of the rim, but the diameter of the groove in the middle of the rim is smaller than the tire diameter. Press the tire into the middle of the ring. This operation runs through every step of the tire disassembly and tire assembly. - Insert the first automotive pry bar and complete the third step before prying. Pry tire up and get it onto the shock absorber.
- Insert the second pry bar and complete the third step before prying. Pry tire up and get it onto the shock absorber.
- Insert the third pry bar and complete the third step before prying. When pry it up, the middle crowbar will usually fall off, and tire disassembly is finished.
Note that the third step is to be done before the fourth and fifth steps, which is to press the tire into the middle of the rim. The fulcrums of the three pry bars should not be too far.
Normal tires are easy to disassemble. If you find it very strenuous, there must be something wrong. - When assemble a tire, the third step is also essential. The tire with size of 16″*2 1/8″, 16″*2 1/2″, 16″*3″ generally do not need a pry bar, just assemble tire by hand.
- Don’t insert the pry bar too deep, it will puncture the inner tire. Just pry into the edge. If you are afraid of breaking the inner tire, you can inflate it with little air to prevent the tire from pinching.
- Check whether the air valve can move freely. Check whether the inner tire is pinched. While inflating tire, check if outer tire have come out. You can also hit the outer tire with a hammer and other tools to stretch the inner tire. The sideline of the outer tire should be parallel and concentric with the rim.
- Finally screw back the air cap.
Related products
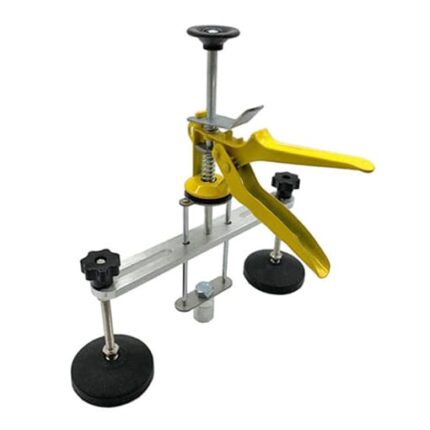
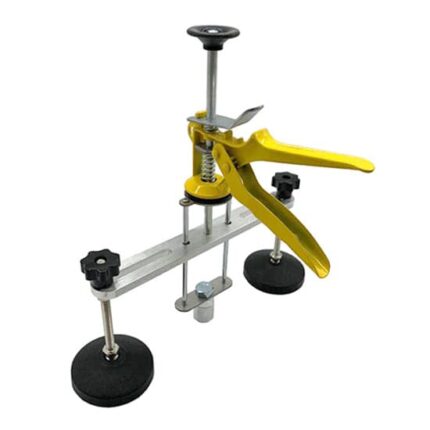
12 Inch Bridge Dent Puller
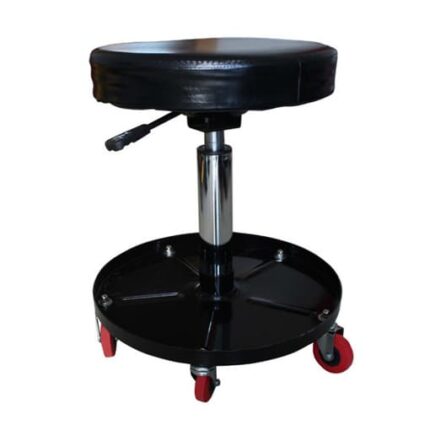
Original price was: $123.78.$37.99Current price is: $37.99.15 Inch Lift Creeper Seat, Black/Red
 Black
Red