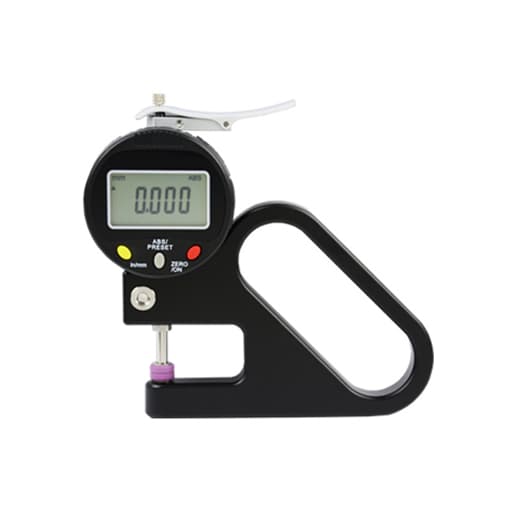
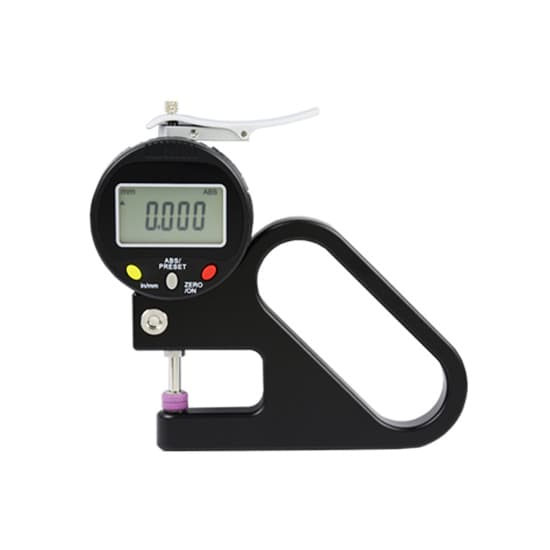
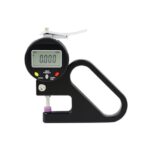
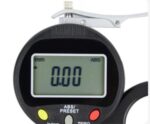
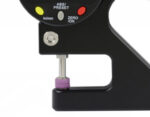
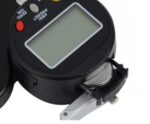
High Precision Digital Thickness Gauge, 30mm Depth, 0.001mm Resolution
Original price was: $238.00.$71.99Current price is: $71.99.
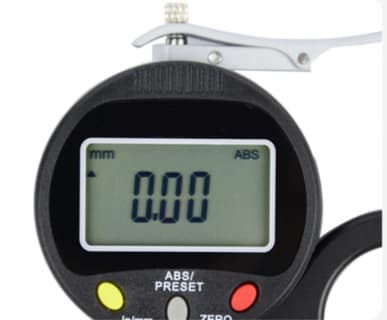
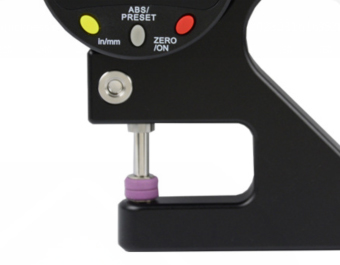
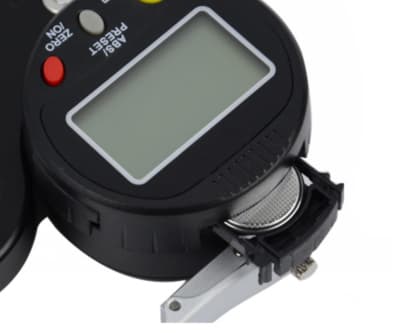
The high-precision digital thickness gauge which has a 30mm jaw depth, ±0.003mm accuracy, and 0.001mm resolution, is equipped with a large LCD screen and displays clear and precise readings, making it easy to use and highly efficient. Whether in the manufacturing industry or working with automotive, aerospace, or electronic components, this digital thickness gauge is essential for reliable and efficient material thickness measurement.
Specification
| Model | T-XH103-1 |
| Measurement Range | 0-10mm |
| Resolution | 0.001mm |
| Accuracy | ±0.003mm |
| Probe Diameter | 10mm |
| Jaw Depth | 30mm |
| Probe Material | Ceramic |
| Measuring Pressure | Below 2.4N |
Features
A digital thickness gauge with a resolution of 0.001mm is a high-precision tool that offers several features for accurate and efficient measurement of material thickness. Some of the key features of such a gauge include:
- High accuracy: The gauge offers a high level of accuracy, allowing for precise measurement of material thickness.
- Digital display: A digital display provides clear and easy-to-read measurements, with the ability to switch between metric and imperial units.
- Multiple measuring modes: Some gauges offer multiple measuring modes, including an absolute mode for measuring the thickness of a single material and a differential mode for measuring the difference in thickness between two materials.
- Large measuring range: With a large measuring range, the gauge can measure the thickness of a wide range of materials, from thin films to thicker materials.
- Zero-setting function: A zero-setting function allows for the gauge to be calibrated to ensure accurate measurements.
- Data output: Many gauges have a data output feature, allowing measurements to be recorded and analyzed on a computer or other device.
- Durability: The gauge is often made of high-quality materials that ensure durability and long-lasting use.
Digital Thickness Gauge Diagram
Tips: How to operate the digital thickness gauge?
Preparation:
- Take out the digital display electronic thickness gauge from the toolbox.
Operation:
- Gently press the “ON” button with the thumb of the left hand to turn on the power supply of the digital display electronic thickness gauge.
- Check whether the display screen and each button work normally.
- Move the thumb of your left hand and press the “ZERO” key lightly to return the displayed value to zero, and you can perform the normal measurement.
- Hold the handle of the thickness gauge with your right hand, and gently press the measuring handle with your thumb.
- Use the left hand to place the workpiece to be measured against the measuring surface of the base of the thickness gauge.
- Gently lower the measuring handle with the thumb of the right hand so that the other side of the measuring workpiece is close to the upper measuring surface.
- Read the displayed value on the display.
- Use your right thumb to gently push the measuring handle away for a certain distance.
- Use the left hand to take off the workpiece that has been measured and obtain the value and put it back in the original place.
- Gently close the electronic digital display thickness gauge and press the “ZERO” key to reset.
End:
- Gently press the “OFF” button with the thumb of your left hand to turn off the power supply of the electronic digital display thickness gauge.
- Gently put the electronic digital display thickness gauge into the packing box and close the cover.